Fail2Ban IP Block List

In an effort to keep those hackers away from probing the server all the time..

AbuseIPdb offers a fail2ban ‘bad IP block list’ via API integration.

Is this a good idea to implement or will it slow the response time down?
Pros/Cons?
Also is there a good or bad way to set this up?

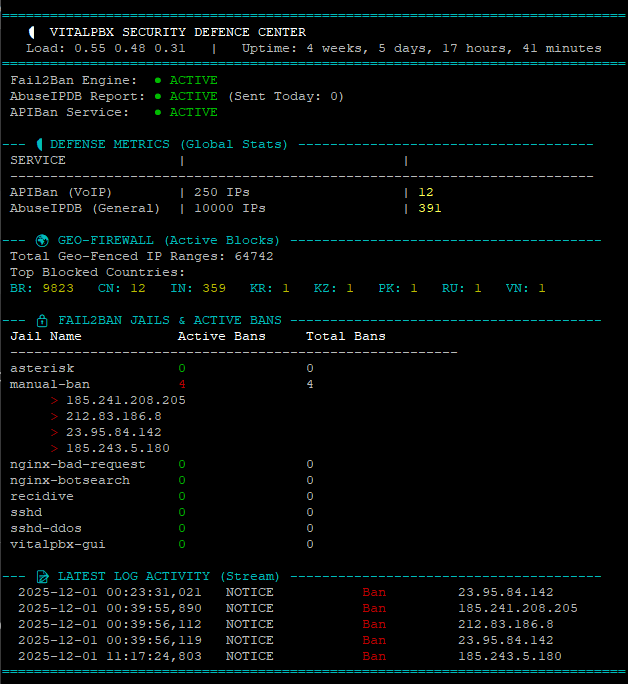
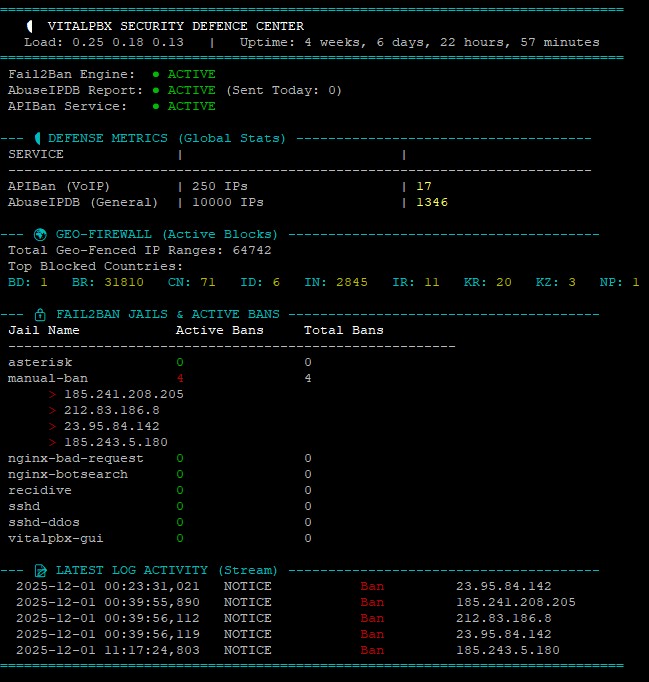
Here is Gemini’s take on the situation..

Here is the complete, step-by-step guide to setting up a “Real-Time” IDS-like blocklist on Debian using ipset and iptables.

This method is superior to Fail2Ban for this specific task because it blocks traffic at the kernel level (extremely fast) before it even hits your application logs.

Prerequisites

You need a free API key from AbuseIPDB.

  1. Log in to AbuseIPDB.
  2. Go to API (in the menu) → Create Key.
  3. Copy this key; you will need it for the script below.

Step 1: Install Required Tools

We need ipset to manage the list of IP addresses and curl to download the list. We will also install iptables-persistent to save our firewall rules.

Run the following commands as root (or use sudo):

Bashsudo apt update sudo apt install ipset ipset-persistent iptables-persistent curl -y

(During installation, if asked to save current IPv4/IPv6 rules, select Yes).


Step 2: Create the Blocklist Script

We will create a robust script that:

  1. Downloads the blacklist from AbuseIPDB.
  2. Creates a temporary list and fills it (to prevent firewall downtime).
  3. Swaps the temporary list with the live list (Atomic update).

Create the file:

Bashsudo nano /usr/local/bin/abuseipdb-blocklist.sh

Paste the following code into the file. Make sure to replace YOUR_API_KEY_HERE with your actual key.

`Bash#!/bin/bash

— CONFIGURATION —

API_KEY=“YOUR_API_KEY_HERE”
ipset_name=“abuseipdb”
ipset_type=“hash:ip”
limit=10000 # Free account limit is 10,000
confidence=100 # Only block 100% sure bad IPs

---------------------

1. Create the ipset if it doesn’t exist yet

if ! sudo ipset list -n | grep -q “$ipset_name”; then
sudo ipset create “$ipset_name” “$ipset_type”
fi

2. Create a temporary set for atomic swapping

temp_ipset=“${ipset_name}_temp”
sudo ipset create “$temp_ipset” “$ipset_type”
sudo ipset flush “$temp_ipset”

3. Download the blacklist

We prefer plaintext for speed and easy parsing

response=$(curl -s -G https://api.abuseipdb.com/api/v2/blacklist
-d confidenceMinimum=$confidence
-d limit=$limit
-d plaintext
-H “Key: $API_KEY”
-H “Accept: text/plain”)

Check if we actually got a list of IPs (simple validation)

if [[ $response =~ [0-9]+.[0-9]+.[0-9]+.[0-9]+ ]]; then
echo “AbuseIPDB: Downloading and updating blocklist…”

# 4. Add IPs to the temporary set
for ip in $response; do
    sudo ipset add "$temp_ipset" "$ip" -exist
done

# 5. Swap the live set with the temp set
sudo ipset swap "$temp_ipset" "$ipset_name"

# 6. Destroy the temp set
sudo ipset destroy "$temp_ipset"

echo "AbuseIPDB: Blocklist updated successfully with $(echo "$response" | wc -l) IPs."

else
echo “AbuseIPDB: Error downloading list or empty response.”
echo “Response: $response”
fi`

Save and exit (Ctrl+O, Enter, Ctrl+X).

Make the script executable:

Bashsudo chmod +x /usr/local/bin/abuseipdb-blocklist.sh

Step 3: Configure the Firewall (Iptables)

Now we need to tell the firewall to look at this ipset and drop anyone on it.

  1. Run the script once to create the list and populate it:Bashsudo /usr/local/bin/abuseipdb-blocklist.sh
  2. Add the Block Rule to iptables. This rule says "If the source IP is in the ‘abuseipdb’ list, DROP the packet."Bashsudo iptables -I INPUT -m set --match-set abuseipdb src -j DROP(Note: -I INPUT puts this rule at the very top, so it runs before any other rules).

Step 4: Ensure Persistence (Surviving Reboots)

If you reboot now, the rules will disappear. We need to save them.

  1. Save the IPSet list: Debian’s ipset-persistent plugin usually handles this, but let’s manually ensure the config is saved.Bashsudo ipset save > /etc/iptables/ipsets
  2. Save the Iptables rules:Bashsudo netfilter-persistent save

Verification: To verify this works, you can reboot your server and run sudo iptables -L -n and sudo ipset list to ensure the rules and lists are still there.


Step 5: Automate with Cron

You need this list to update automatically. Since AbuseIPDB updates frequently, running this every 4 to 12 hours is standard.

  1. Open the root crontab:Bashsudo crontab -e
  2. Add this line to the bottom:Bash# Update AbuseIPDB Blocklist every 4 hours 0 */4 * * * /usr/local/bin/abuseipdb-blocklist.sh > /dev/null 2>&1

How to check if it’s working

To see how many attacks you are blocking, run:

Bashsudo iptables -L INPUT -v -n

Look for the line referencing abuseipdb. The first column (pkts) shows how many packets have been blocked.

Summary of what you just built:

  1. Script pulls 10,000 known hackers from AbuseIPDB.
  2. IPSet stores them efficiently in memory.
  3. Iptables checks that list instantly for every incoming connection.
  4. Cron keeps the list fresh automatically.
1 Like

You can also use APIban this with vitalpbx:

Both AbuseIPDB and APIBAN seem good in their own ways - So I couldn’t decide and asked Gemini to compare - here is the result:

Both are excellent tools, but they solve different problems for different types of servers.

If you are running a Web/Mail/SSH server , AbuseIPDB is the better choice.1

If you are running a VoIP/PBX server (Asterisk, Kamailio, etc.) , APIBan is the industry standard.2

Here is the direct comparison to help you decide.

1. The Head-to-Head Comparison

Feature AbuseIPDB APIBAN
Primary Focus General Security (SSH, Web, Mail, DDoS) VoIP Security (SIP, RTP, PBX systems)
Data Source Crowdsourced (Users report attacks) Honeypots (Their own decoy servers)
False Positives Low (if you filter by high confidence) Extremely Low (Only captures active attackers)
Cost Freemium (Free tier limited to 3k checks/day) 100% Free (Sponsored project)
Updates Continuous (as users report) Near Real-time (Every ~5-10 mins)
Best For Web Servers (Nginx/Apache), Mail Servers SIP Servers (Asterisk, Kamailio)

2. Deep Dive: The Core Differences

AbuseIPDB (The “Neighborhood Watch”)

AbuseIPDB relies on a massive community of sysadmins. If a hacker attacks my server in London, I report it. If you are in New York and use AbuseIPDB, your firewall learns about that hacker within minutes and blocks them before they even try to attack you.

  • Pros: Huge dataset, covers almost every type of attack (SSH brute force, WordPress exploits, SQL injection).
  • Cons: You rely on other people to report correctly. You must use the “Confidence Score” (e.g., only block IPs with 100% confidence) to avoid blocking innocent users.

APIBan (The “Bear Trap”)

APIBan doesn’t rely on reports. They run their own network of “Honeypots” (fake VoIP servers) all over the world.3 These servers exist solely to be attacked. If an IP connects to an APIBan honeypot, it is 100% a bad actor because there is no legitimate reason to connect to them.

  • Pros: almost Zero false positives. It is “set and forget.” It is specifically tuned to block “SIP Scanners” (bots looking to make free calls through your phone system), which AbuseIPDB often misses or reacts to more slowly.
  • Cons: Smaller dataset. While they technically have an HTTP list, it is nowhere near as comprehensive as AbuseIPDB for general web attacks.

3. Which one gives better “Real-Time” IDS?

Technically, APIBan is closer to a “Real-Time IDS” out of the box because their honeypots feed the central list instantly, and their client is designed to pull frequent updates (every few minutes).

AbuseIPDB is effectively real-time if you use the blocklist method I gave you earlier, but it relies on the “crowd” to have seen the attacker first.

4. My Recommendation

Scenario A: You are hosting a Website, App, or Mail Server

Use AbuseIPDB.

APIBan will not catch the guy trying to brute-force your WordPress login or the bot scraping your content. AbuseIPDB has millions of reports on these specific actors.

  • Action: Stick with the Method 1 script I provided in the previous response.

Scenario B: You are hosting a Phone System (VoIP/Asterisk)

Use APIBan.

AbuseIPDB is often too slow to catch SIP scanners. A SIP attack can happen in seconds, costing you money (toll fraud). APIBan prevents this specifically.4

  • Action: Install the APIBan client (apiban-iptables-client for Debian).5

Scenario C: Maximum Security (The Hybrid)

Use Both.

There is no conflict in running both. You can have an ipset for AbuseIPDB and a separate ipset for APIBan.

  1. Run the AbuseIPDB script (Method 1) to block general internet bad guys (SSH/Web).
  2. Run the APIBan client to block specific VoIP/SIP hackers.6

This gives you a firewall that drops traffic from the “General Criminals” (AbuseIPDB) and the “Specialized Phone Hackers” (APIBan) simultaneously.


One last important thing to note - will this impact your call quality on VitalPBX?

No, they will not impact your call quality if and only if you use the ipset method.

If you try to do this using standard Fail2Ban jails or linear iptables rules, yes, it will likely destroy your VoIP call quality by introducing “Jitter.”

If you use a bad script that runs iptables restart or flushes the rules to add new IPs, your firewall might “hang” for 1-2 seconds while it reloads. During that 2-second window, active calls will drop audio.

The Solution: The script I provided you uses Atomic Swapping.

  1. It builds the new list in a separate memory space (background).
  2. It swaps the “Live” list with the “New” list in a single microsecond operation.
  3. The VoIP stream never notices the switch.

Summary Recommendation for VoIP Servers

  • Safe: Using ipset (the script I provided) with up to 100,000 IPs is safe. It will add less than 1 microsecond of latency.
  • Unsafe: Adding thousands of IPs directly into Fail2Ban “jails.”
  • Best Practice: For a VoIP server, I strongly recommend running APIBan alongside AbuseIPDB. APIBan is smaller, cleaner, and specifically targets the people scanning specifically for your SIP ports.

So I thought that might be pretty important to note.